The Evolution of Collaboration and its Security Implications
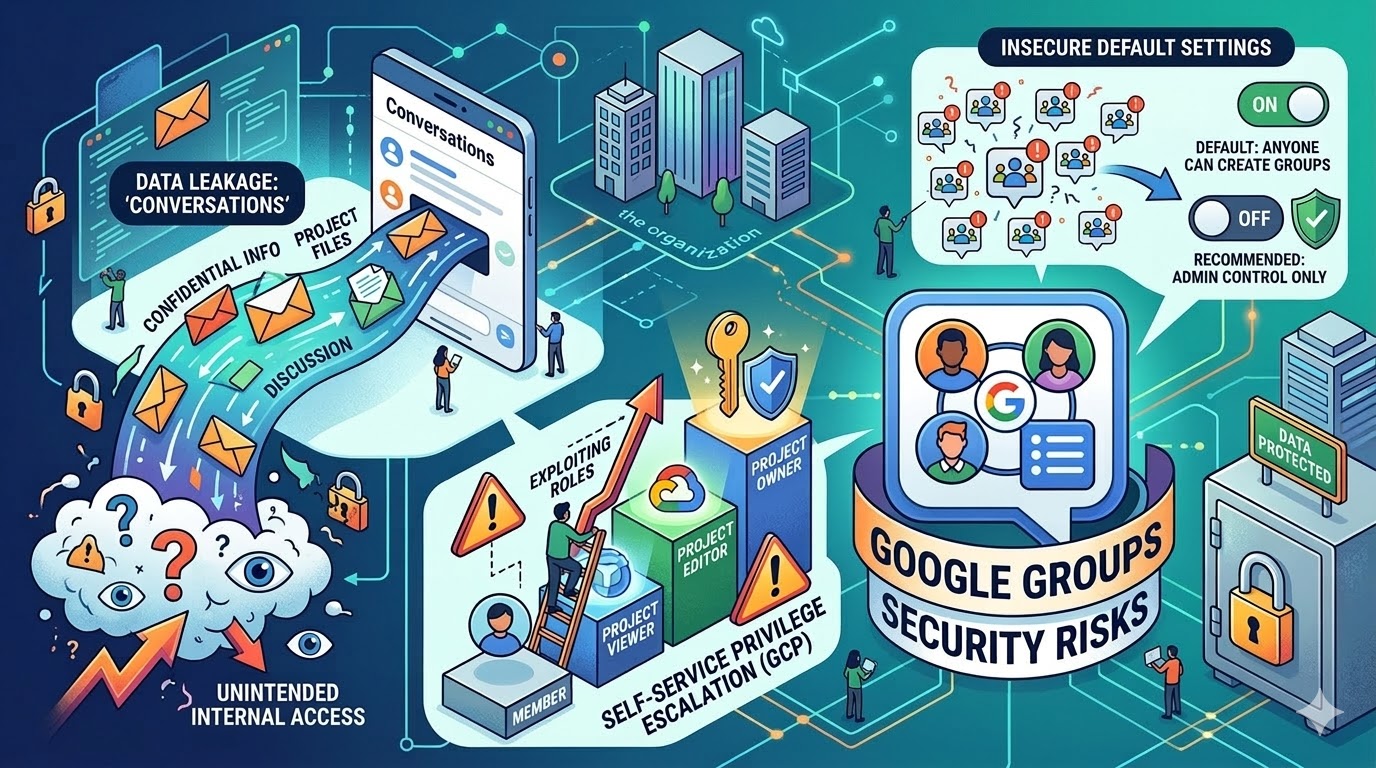
Google Workspace has become a cornerstone of modern business productivity, rivaling Microsoft 365 as the leading suite for collaboration and communication. Its rapid adoption, particularly with powerful productivity tools, has brought convenience but also introduced complex security challenges. This post delves into the history, design, and potential abuse cases surrounding Google Groups, focusing on data leakage risks stemming from the “Conversations” feature, self-service privilege escalation possibilities within Google Cloud Platform (GCP), and the inherent weaknesses of default global organization settings that often encourage insecure practices. We’ll provide practical guidance for identifying and mitigating these Google Groups security risks.
A Brief History: From Classic Groups to New Google Groups
Google Groups began as a simple forum and mailing list service, evolving over time into an integral part of the Workspace ecosystem. The late 2020 redesign marked a significant turning point with the introduction of “New Google Groups.” This iteration consolidated groups across various services like email, chat, shared calendars, GCP, etc. All under a unified management interface at groups.google.com.
The introduction of “Conversations” was intended to streamline communication by providing a single pane for all group interactions, accessible via an email alias. This feature quickly gained popularity due to its ease of use, allowing teams, projects, or service-based groups to consolidate their discussions. To drive adoption, Google defaulted to “Anyone in the organization can create groups,” reducing administrative overhead but inadvertently creating a breeding ground for misconfiguration and security risks.
The Conversation Feature: A Prime Data Leakage Vector
The ease with which users could create Groups and email alias has became a double-edged sword. The default setting of “All organization users” for “who can view conversations” meant that sensitive information shared within group communications are potentially visible to the entire company. This is particularly concerning as organizations increasingly rely on third-party or SaaS solutions, expanding the attack surface and potential exposure points.
Even organizations proactively disabling Conversations globally across the organization aren’t entirely safe. The default “Anyone in the organization can join” setting still allows users to subscribe to group email as they join, effectively receiving a copy of every message sent and bypassing the intended restrictions of a disabled Conversation feature.
Note in order for a Global Policy to be effective you must restrict external members, limit group creation to administrators, and only allow conversations for existing members.
Privilege Escalation via Google Groups and GCP Integration
The integration between Google Groups and Google Cloud Platform (GCP) further complicates the security landscape. While administrators can create groups within the Google Groups services with restricted policy settings, creating groups directly within the GCP IAM interface presents a significant risk. Users creating groups within GCP IAM effectively creates the same group within Google Groups while inheriting global organization policy defaults, potentially creating an opportunity to grant unintended access to sensitive resources.
Specifically, if a user creates a group in GCP and assigns it privileged roles (e.g., Compute Admin, Storage Admin), the group inherits the default “Anyone in the organization can join” setting. This allows malicious or negligent users to self-subscribe, gaining elevated privileges without proper authorization. A rather simple and classic example of privilege escalation.
Self-Service Access to Shared Drives: A Hidden Data Exposure Risk
Beyond GCP abuse, another common use case for Google Groups is granting access to documents or shared drives within Google Drive. Administrators frequently create groups and assign them appropriate permissions (e.g., Viewer, Commenter, Editor) to facilitate collaboration on sensitive data like financials, personal information, or legal documents. However, the same org-wide global default setting – “Anyone in the organization can join” – poses a significant risk of unauthorized access to these shared drives.
If users are permitted to self-subscribe to groups controlling access to sensitive shared drives, they effectively bypass established access control mechanisms. A malicious insider or compromised account could easily add themselves to a group with elevated permissions, gaining unrestricted access to confidential data. This scenario is particularly concerning as it’s difficult to detect without proactive monitoring and auditing of group memberships.
The Evolving Security Landscape: Recent Changes & Future Considerations
Google has recognized these risks and begun addressing them with more granular control options. As of September 2025, custom roles for member management were introduced, allowing administrators to define specific permissions for group members. In January 2026, Google removed the option to allow an entire organization to manage groups, further restricting access and reducing the risk of widespread misconfiguration.
Furthermore, Google has committed to more granular control over internal/external membership classifications, providing greater visibility and control over who can access group resources. However, these changes are reactive; organizations must proactively address existing misconfigurations and implement robust security policies to gain the benefits.
Identifying Potential Data Leaks: GAM & Conversation Visibility
The Google Apps Manager (GAM) is a powerful open source command-line tool for managing Google Workspace environments. It can be used to identify groups with overly permissive conversation visibility settings.
Here’s an example of how to find potential leaks using GAM:
gam print groups fields email,name,whoCanViewConversations | grep -e "ALL_IN_DOMAIN" -e "ORGANIZATION_MEMBER" -e "ANYONE_ON_THE_WEB"
This command prints the email address, name, and whoCanViewConversations setting for all Google Groups. The grep "ALL_IN_DOMAIN" filter identifies groups where conversations are visible to everyone in the organization. Reviewing this list is a crucial first step in identifying potential data leakage risks. You can find more information on GAM usage On the project Wiki.
Tip: Groups with
whoCanViewConversationsset toALL_IN_DOMAINorORGANIZATION_MEMBERmean that anyone within your Google Workspace domain/org can read the conversations. WhereasANYONE_ON_THE_WEBwould indicated the conversation is viewable/searchable online.Identifying Groups with Open Membership & Shared Drive Access
The following GAM script provides a method for identifying potentially vulnerable groups controlling access to shared drives:
# First, generate a list of all Shared Drives in your domain
gam redirect csv ./AllSharedDrives.csv print teamdrives

# Next, use the generated file to query the permissions (ACLs) for every drive
gam redirect csv ./AllSharedDriveACLs.csv multiprocess csv AllSharedDrives.csv gam print drivefileacls ~id

# Finally, we can attempt to use the email address from the ACL to get group information and target
gam info group <group_email> |grep -e "ALL_IN_DOMAIN_CAN_JOIN" -e "ANYONE_CAN_JOIN"
Explanation:
gam redirect csv ./AllSharedDrives.csv print teamdrives: This command generates a CSV file namedAllSharedDrives.csvcontaining a list of all Team Drives (shared drives) in your Google Workspace domain.gam redirect csv ./AllSharedDriveACLs.csv multiprocess csv AllSharedDrives.csv gam print drivefileacls ~id: This command iterates through each shared drive listed inAllSharedDrives.csvand retrieves its Access Control List (ACL). The ACL data is saved to a CSV file namedAllSharedDriveACLs.csv.gam info group <group_email> |grep -e "ALL_IN_DOMAIN_CAN_JOIN" -e "ANYONE_CAN_JOIN": This command takes the email address of a group identified in the ACL data and queries its information using GAM. Thegrepfilter searches for lines containing either“ALL_IN_DOMAIN_CAN_JOIN”or“ANYONE_CAN_JOIN”, indicating whether the group allows anyone within the organization to join. Note: You will need to iterate through the email addresses found in./AllSharedDriveACLs.csvand run this command for each one.This script provides a starting point for identifying groups with open membership that have access to shared drives. Further investigation is required to determine the sensitivity of the data stored within those drives and assess the potential impact of unauthorized access.
Configuring Organization-Wide Policies: A Step-by-Step Guide
Google Admin provides centralized control over group settings and policies. Here’s how to configure organization-wide defaults:
- Sign in to your Google Admin console: (admin.google.com).
- Navigate to Apps > Google Workspace > Groups for Business > Sharing Options.
- Review and adjust the following settings:
- Group creation: Restrict group creation to authorized users or departments. Consider disabling self-service group creation altogether.
- External members: Control whether external users can join groups.
- Conversation access: Set a default setting that restricts conversation visibility to group members only. Avoid “All organization users” unless absolutely necessary.
- Membership approval: Require owner approval for new group memberships.
Note: Requires having the Service Settings administrator privilege.
Regularly review and update these policies to reflect evolving security threats and organizational needs.
More detailed Explanation of organization-wide polices for groups can be found in the official docs
Attack Diagram: GCP Privilege Escalation via Google Groups

This diagram highlights the critical risk: a user creating a group in GCP with default org wide settings, could allow anyone in the org to join and potentially gain access to sensitive assigned roles. The attack path is simple and requires minimal technical expertise.
Mitigating Risks & Best Practices
- Least Privilege: Grant users and groups only the minimum necessary permissions required for their tasks.
- Regular Audits: Regularly audit group memberships and permissions to identify and remove excessive privileges.
- Policy Enforcement: Implement robust policies that restrict group creation, membership approval, and conversation visibility.
- User Training: Educate group owners about the security risks associated with Google Groups and best practices for managing groups.
- Leverage Custom Roles: Utilize custom roles introduced in September 2025 to define granular permissions for member management and members external to your organization, reducing the risk of over-permissioned users.
Conclusion: Proactive Security is Paramount
Google Groups are a powerful tool for collaboration, but their inherent security risks require proactive mitigation. By understanding the design of these features, recognizing potential abuse cases, and implementing robust security policies, organizations can minimize the risk of data leakage and privilege escalation. The recent changes introduced by Google are a step in the right direction, but ultimately, it’s up to administrators to ensure that their environments are properly configured and protected. Don’t rely on defaults; take control of your Google Groups and safeguard your sensitive information.
Learn More:
- Google Groups Help – Official Google documentation for Google Groups.
- Google Apps Manager (GAM) – The official GitHub repository for GAM, a command line tool for Google Workspace Administrators
- CIS Benchmarks – Section 3.1.6 Groups for Business – Google Workspace Foundations – A comprehensive resource on securing Google Workspace environments.
- Google CAS Backed Device Trust – Implement defense in depth with certificate based device trust to add an additional layer of control for privileged actions.