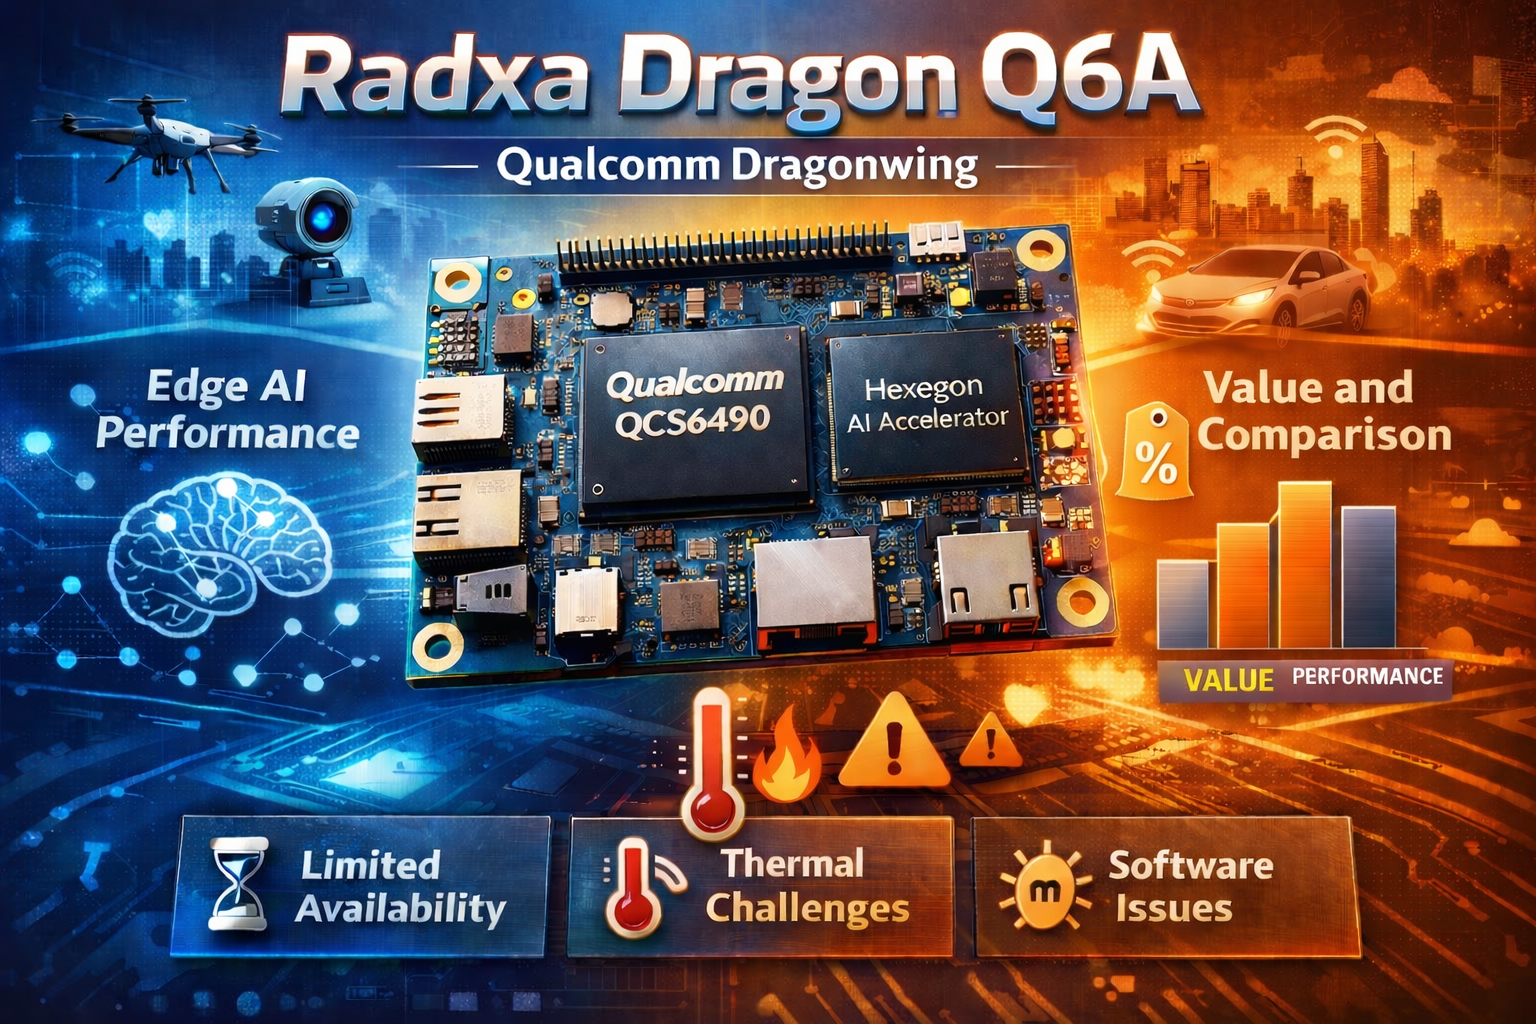
The single board computer (SBC) market is constantly evolving, driven by demand for compact, low-power devices capable of handling increasingly complex workloads. The Radxa Dragon Q6A represents a significant step forward, particularly in the realm of edge AI. Powered by Qualcomm’s QCS6490 processor (based on the Dragonwing architecture), this SBC promises to deliver impressive performance at a competitive price point. This blog post will provide an in-depth look at the Radxa Dragon Q6A, focusing on its key features, AI capabilities, the value proposition, and practical considerations for deployment. We’ll also address the downsides outlined by early adopters, offering a balanced perspective for those considering this platform.
Qualcomm Dragonwing Architecture & Hardware Overview
At the heart of the Dragon Q6A sits Qualcomm’s QCS6490 system‑on‑chip, branded as a “Dragonwing” processor. The chip integrates:
- 1 × Kryo Prime core @ 2.7 GHz (high performance)
- 3 × Kryo Gold cores @ 2.4 GHz (balanced workloads)
- 4 × Kryo Silver cores @ 1.9 GHz (efficiency)
This heterogeneous configuration gives you a total of eight CPU cores, allowing the board to handle mixed‑type workloads – from heavy inference tasks on the NPU to background Linux services.
GPU and Video Processing
The integrated Adreno 643 GPU supports OpenGL ES 3.2/2.0/1.1, Vulkan 1.1–1.3, OpenCL 2.2 and DirectX Feature Level 12. For video‑centric AI pipelines (e.g., object detection on live streams) the Adreno Video Processing Unit 633 can decode up to 4K 60 fps H.264/H.265/VP9 and encode up to 4K 30 fps, making it suitable for surveillance or multimedia edge devices.
Memory and Storage
- LPDDR5 RAM options: 4 GB, 6 GB, 8 GB, 12 GB, 16 GB (5500 MT/s)
- eMMC/UFS storage: up to 512 GB UFS module or 64 GB eMMC
Connectivity and I/O
| Interface | Details |
|---|---|
| Wi‑Fi / Bluetooth | IEEE 802.11a/b/g/n/ac/ax (Wi‑Fi 6) + BT 5.4, two external antenna connectors (note: driver support currently missing in the Windows preview) |
| Ethernet | 1 × Gigabit RJ45 with optional PoE (requires separate PoE HAT) |
| USB | 1 × USB 3.1 OTG Type‑A, 3 × USB 2.0 Host Type‑A |
| HDMI | HDMI 2.0 Type‑A, up to 3840 × 2160 (4K 30 fps) |
| M.2 | Key‑M slot supporting PCIe Gen3 x2 for 2230 NVMe SSDs |
| Camera | 1 × four‑lane CSI + 2 × two‑lane CSI, plus a four‑lane MIPI DSI display connector |
| GPIO | 40‑pin header with UART, I²C, SPI, PWM, 5 V and 3.3 V power rails |
AI Capabilities: A Surprisingly Strong Contender
The most compelling aspect of the Radxa Dragon Q6A is its potential for edge AI applications. Qualcomm’s software ecosystem – QAIRT SDK, QAI-APP-BUILDER and QAI-HUB model library – provides a robust foundation for developing and deploying AI models. Out of the box, these tools support major CV (Computer Vision), LVM (Language & Voice Models) and VLM (Vision Language Models).
Qualcomm’s AI acceleration is split between the Hexagon Vector Extensions (HVX) DSP and a dedicated Tensor Accelerator. The DSP handles low‑precision operations efficiently, while the Tensor Accelerator provides high throughput for matrix multiplication in modern LLMs and vision transformers. Together they form the backbone of the board’s AI performance.
Early testing indicates impressive performance even on the modest 4/6/8GB version. Reports show ~100 tokens/second in prompt processing and over 10 tokens/second in generation with a 4096 context length using Llama3.2-1b. These figures that are highly competitive for an SBC in this price range. This suggests the Dragon Q6A can handle real-time AI inference tasks, opening up possibilities for applications like:
- Computer Vision: Object detection, image classification, facial recognition
- Natural Language Processing: tooling, text summarization, sentiment analysis
- Edge Analytics: Real-time data processing and anomaly detection
- Robotics: Autonomous navigation, object manipulation
- Smart Home Applications: Voice control, personalized automation
The integrated Hexagon Tensor Accelerator is key to this performance. It’s designed specifically for accelerating machine learning workloads, enabling efficient execution of complex models without relying heavily on the CPU or GPU. This translates to lower power consumption and improved responsiveness – critical factors for edge deployments.
Software Support & Development Ecosystem
Radxa supports a variety of operating systems including RadxaOS, Ubuntu Linux, Deepin Linux, Armbian, ArchLinux, Qualcomm Linux (Yocto-based), and Windows on Arm. The availability of hardware access libraries for both Linux and Android platforms simplifies development and integration. However, it’s important to note that the software is still under active development and hasn’t reached a stable release state yet. This means users may encounter bugs or require recompiling the kernel and working with packages – potentially challenging for those unfamiliar with Linux subsystems.
Downsides & Practical Considerations
Despite its impressive capabilities, the Radxa Dragon Q6A isn’t without its drawbacks:
- Limited Availability: Currently, shipments are primarily out of China, which can lead to difficulties and additional expenses for North American customers due to current trade conditions.
- Thermal Management: The SBC runs hot when executing models, requiring a cooling solution. Radxa doesn’t offer official passive or active cooling systems, necessitating modification of existing solutions designed for other boards. This adds complexity and cost.
- Software Maturity: As mentioned earlier, the software ecosystem is still evolving. Users should be prepared to debug issues, potentially recompile kernels, and work with Linux packages.
Comparison to Competing Edge AI (8GB) SBCs
| Device | NPU / Accelerator | Approx. Price (USD) | Token Generation Speed* | Prompt Processing Speed |
|---|---|---|---|---|
| Radxa Dragon Q6A | Qualcomm Hexagon (QCS6490) + Tensor Accelerator | $85-100 | 9.7 tokens/s | 110.3 tokens/s |
| Orange Pi 5 | Rockchip 3588 NPU (Mali‑G610) | $150‑$180 | 5.8 tokens/s | 14.8 tokens/s |
| Nvidia Jetson Orin Nano | CUDA GPU Core based on NVIDIA Ampere architecture | $249 | 38.6 tokens/s | 8.8 tokens/s |
| Raspberry Pi 5 CPU + GPU | Broadcom BCM2712 + VideoCore VII | $85-100 | 6.5 tokens/s | 4.3 tokens/.s |
*Measured under similar quantization settings and batch size of 1. context of 4096, and using Llama 3.2-1B.
The Dragon Q6A’s advantage lies in its dedicated Tensor Accelerator that can sustain higher throughput for larger context windows, making it a compelling choice for on‑device LLM inference or multimodal tasks where latency matters.
Inference Pipeline LLM Prompt Execution Flow
The following Mermaid diagram visualizes the data flow from user input to NPU inference and back to the application:
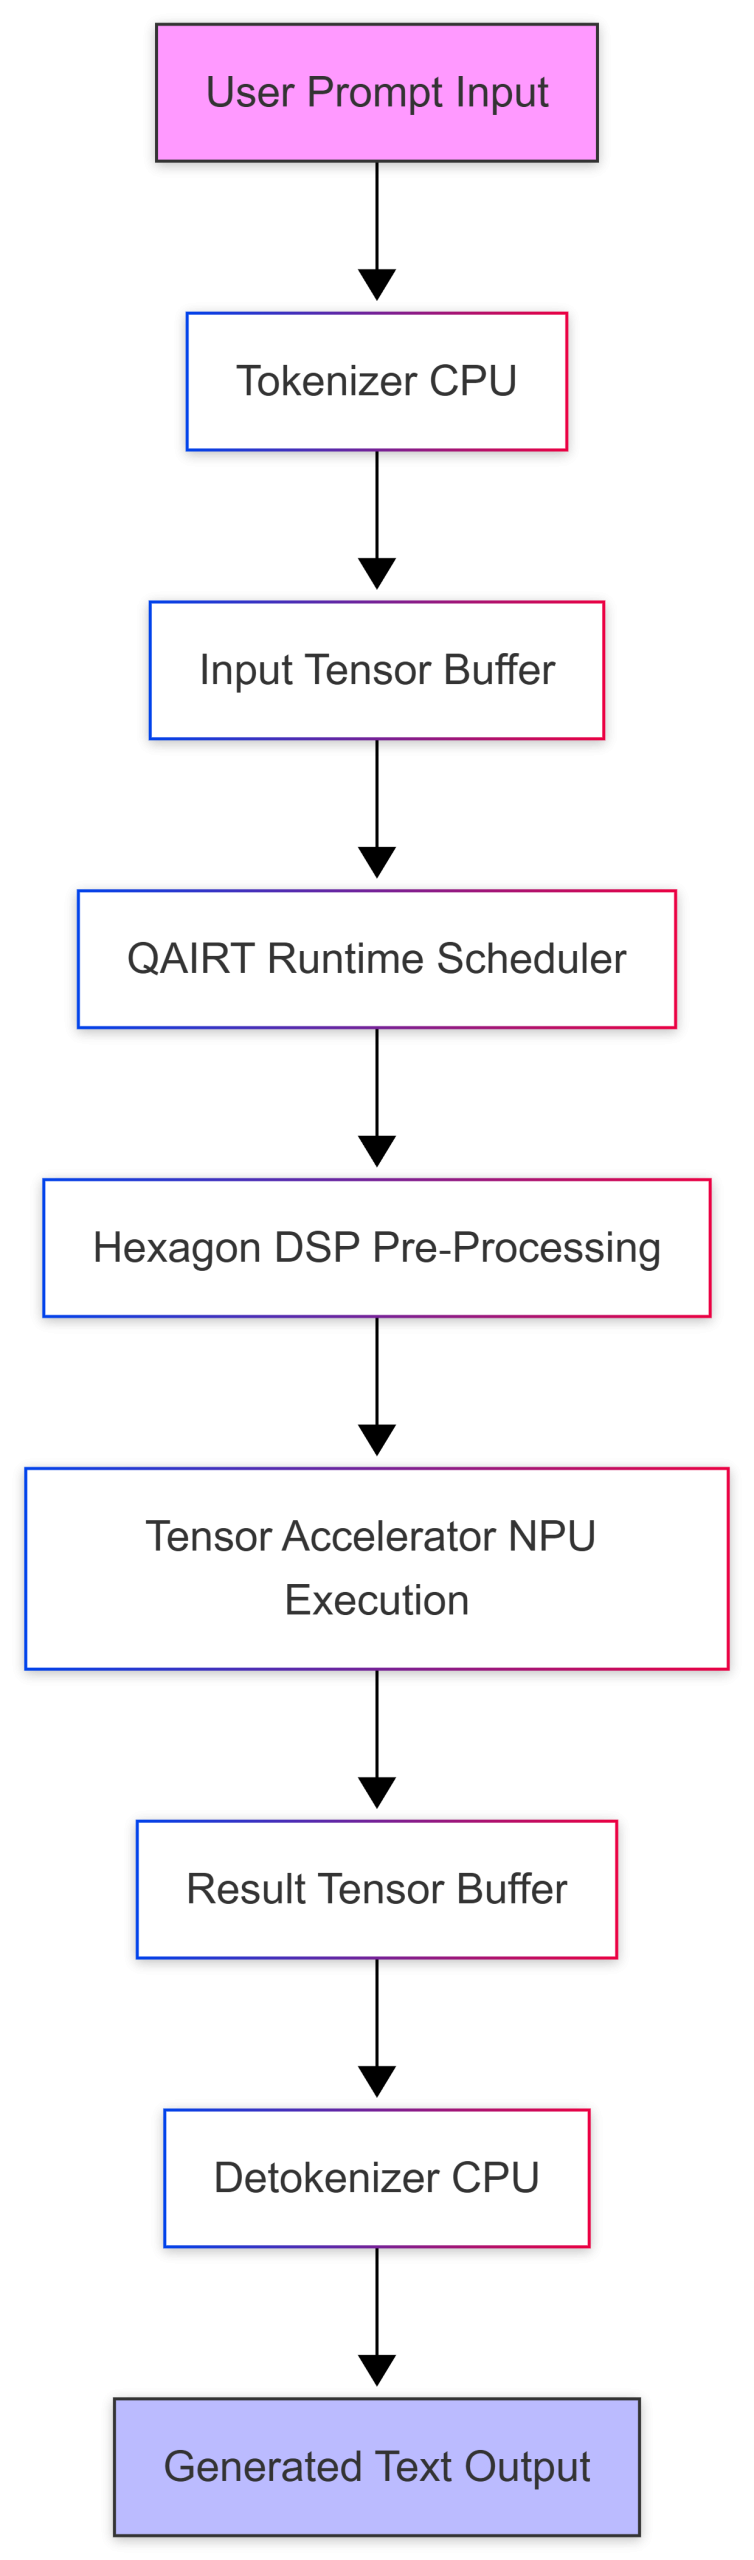
The diagram highlights that the CPU handles tokenization and detokenization while the heavy matrix operations run on the NPU, keeping latency low and freeing CPU cycles for other tasks such as network handling or monitoring.
Conclusion
The Radxa Dragon Q6A represents an exciting development in the SBC landscape, offering a compelling combination of performance, AI capabilities, and affordability. Its Qualcomm Dragonwing processor and dedicated Hexagon Tensor Accelerator make it well-suited for edge AI applications. However, potential buyers should be aware of the downsides – limited availability, thermal management challenges, and software maturity issues. By carefully addressing these considerations, developers can unlock the full potential of this powerful SBC.
Next I look forward to putting the Dragonwing (including the Airbox Q900 once they continue shipping to the US) line to the test in a Hiwonder robotics application, where I believe it will outshine a traditional Raspberry Pi; at the same price point.